If your bathroom cabinets have gone old and dingy with heavy exposure to moisture and use—or it’s simply looking outdated. You can paint to rescue it. Painting is an easy way to restore your storage piece. Surely, you can successfully paint both engineered wood and solid wood, no matter if the bathroom cabinets are sealed, unfinished, or lately painted.
The key to getting professional-level painting results is detailed surface preparation, meticulous procedure, and the proper products. Therefore, we have written down our detailed guide on how to paint bathroom cabinets. By reading this and you will get all the tools you require to give that cabinet a durable, beautiful fresh new look.
Remove Hardware
You need to start by taking out all the cabinet drawers and doors from the cabinet and removing the hardware. You do not need to paint over hardware, such as handles and hinges. The prime reason for this is it will impact the way the cabinet works. If your hardware and hinges have been lately painted, you can reach out to a paint store and ask them to restore those.
Furthermore, make a map of how the drawers and doors go together in the cabinet. You need to label each piece of them carefully with its position for effortless reassembly. You can use a screwdriver or cordless drill to remove hardware and hinges. If you have adjustable cabinets in your cabinets, make sure to eliminate those. Also, remove the hardware that backs them from the cabinets.
Clean Cabinets
Fully dust and clean all vanity surfaces using a solution of TSP (trisodium phosphate) and water following the manual's instructions. Cleaning the vanity is a crucial step to make sure the primer nicely bonds with the surface. After completing the cleaning process, wipe dry with a cloth.
Scuff Cabinet Surface
For scuffing the surface of cabinet frames, you can either use a sanding sponge or a folded medium-grit sandpaper. The amount you will require to scuff will depend on the cabinet’s existing finish. Generally, the majority of the painted finishes and sealed woods need light sand only to make the smooth surface rough.
When working on thermofoil vanity, you need to be extra cautious to not scuff through the laminate finish. Redo the scuffing process on the front of the drawer and door.
Priming
Apply primer to every drawer and door front using a roller, sprayer, or brush. If you possess one, a paint sprayer will better accomplish a pro finish. You can have them on rent from any nearby hardware shop or buy them. If you utilize a brush, paint with smooth, long strokes, so slightly visible brushstrokes. Let the primer dry.
Now, turn over the cabinet doors and prime-coat that side. Run the brush over the corners a second time. Then, wait and let the primer dry.
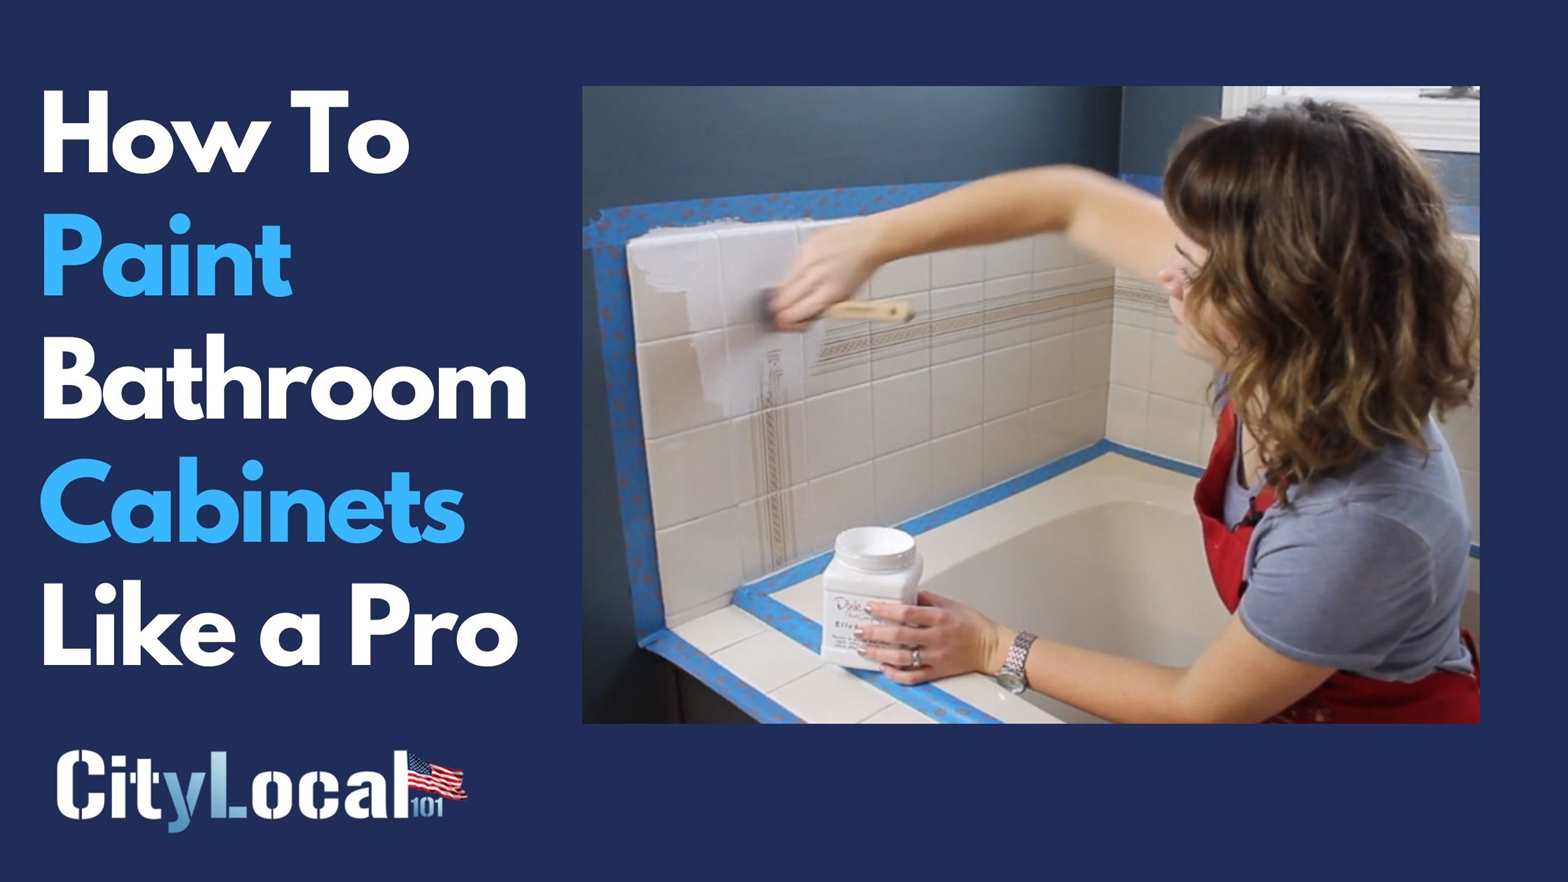
Put Down Painter’s Tape
Use a few streaks of painter’s tape to cover the simmer edges and under the side of the cabinets. It includes the area where the cabinet joins the wall. Also, cover up the countertops. You need to be sure the tape is even and straight to prevent glaring blunders. Painter’s tape will let you make perfect boundaries for your paint task. Also, it covers areas that you like to keep clear.
- The broader tape will provide you with a greater margin of mistake and can be helpful for painting near trim and walls.
- If you would prefer not to remove the doors of your cabinet before painting. Then fold a strip of painter’s tape on the hinges to prevent paint from getting on them.
- If your washroom is small, you can think about painting the cabinet doors and drawers in another area with better ventilation.
Painting
Professionals suggest these things to consider when choosing bathroom paint. Just like the walls of your bathroom, the vanity and cabinets unit require protection from humidity, moisture, chipping, and staining. Everyone uses the bathroom more than other parts of the house. Therefore, you need paint that is mildew-resistant and effortlessly washable. There are two various kinds of paint applicable for this task. They are oil-based or latex paint.
Oil-based paint has a strong finish which is probably suitable for high-traffic areas. Also, it is less inclined to show brushstrokes as compared to latex paint.
Though, oil-based paint requires a long time to dry. Also, the paintbrushes need to be cleaned with chemical solutions. On the contrary, latex paint dries much quicker and can be cleaned with water.
Besides, if you are going for latex paint, use a sprayer or synthetic paintbrush. Oil-based paints need to be applied to utilize a sprayer or natural-bristle brush. Let it dry completely before applying a second coat.
Keep in mind that a few layers of thin coats are way better than one or two thick ones. It not just gives a nicer finish but gives rise to a more hard-wearing surface.
Let The Paint To Dry Completely
Generally, the drying time for any kind of paint is around 24-48 hours. Though, it might take more than a week for it to solidify to the point that it gets resistant to scratches and other marks. To make it dry faster, leave the windows and doors open to give airflow. You need to keep in mind the following things:
- Keep pets and small children away from sticky paint until it dries.
- Also, you can leave the fan on in the bathroom. It might help the paint settle faster.
Conclusion
Like any space in your house, the washroom can benefit from a remake every once in a while if you like to upgrade the look of your bathroom but don’t rave about the idea of spending plenty of money on new inductions. You can simply consider repainting your vanity or cabinets with vibrant colors. A new coat of paint can dramatically change the loom of your bathroom without the unnecessary expense and difficulty that comes with huge renovation.
You need to simply follow the easy steps we mentioned in this article and get a beautiful cozy washroom overnight.
.webp)