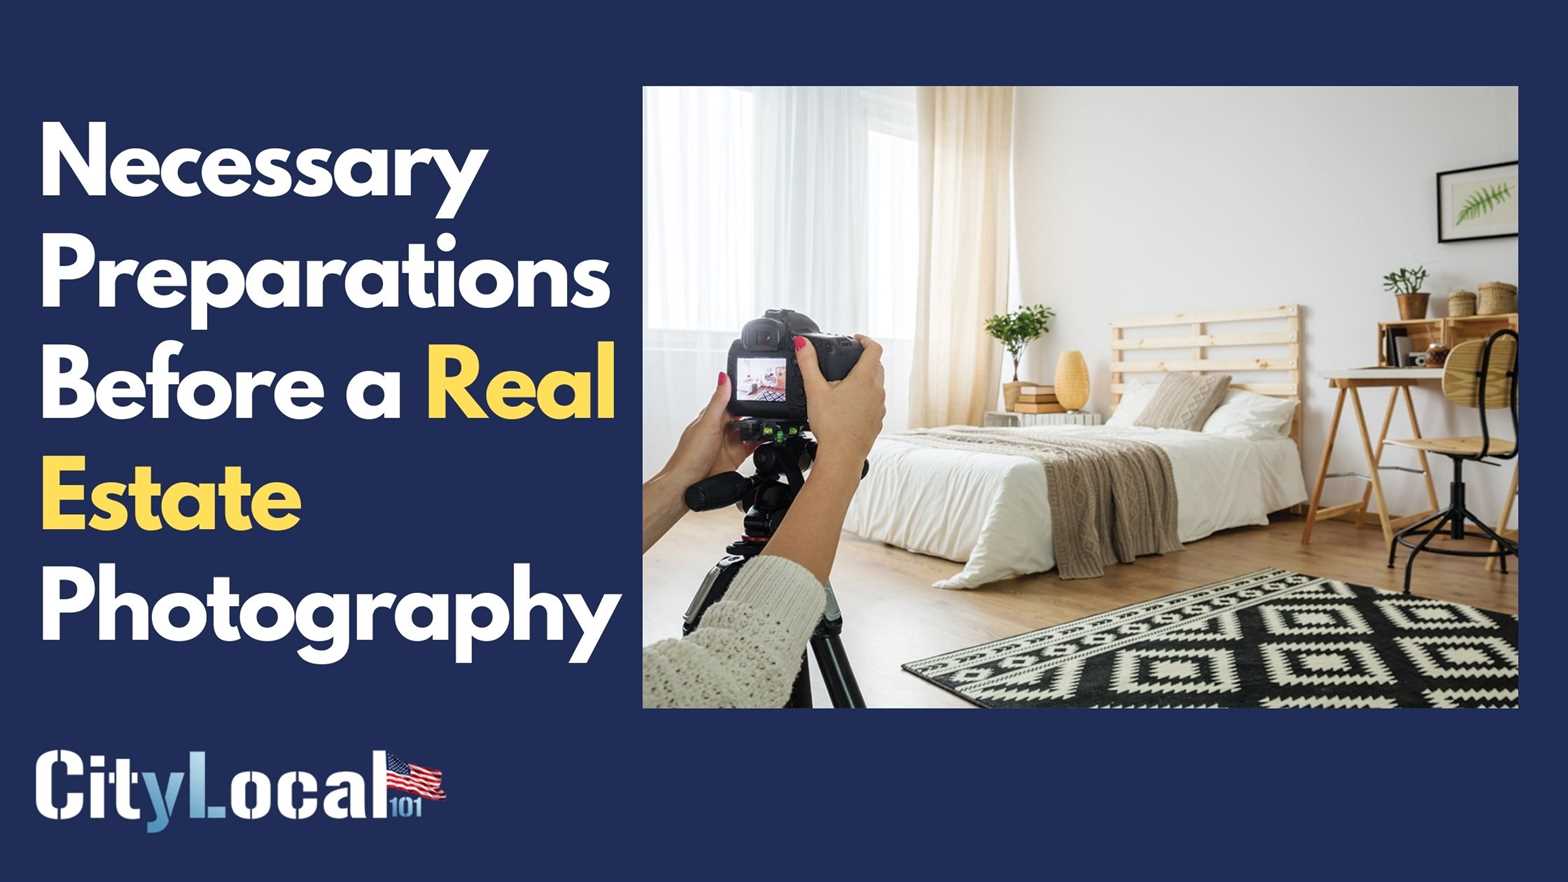
Have you heard it before? This old adage is true when it comes to selling your home. Interested buyers will notice a plethora of adverts filled with enticing real properties for sale. So, before you put your house on the market, take the time to make it the best it can be. The initial stage in the buying process for most buyers is to look at photographs and floor plans. That's why many homeowners employ a professional real estate photographer to take stunning photos of their homes both inside and out. You play a significant role before the photographer arrives. In most cases, it is your job to arrange and design the home for the photos. A few hours of cleaning, organizing, and decluttering can help you acquire great, appealing images, resulting in a more appealing real estate listing and a quicker sale!
Where To Start
While it is not necessary to highlight every aspect of a home in a listing, most real estate agents and photographers will emphasize the following images:
- Bedrooms, kitchen, and living room in wide-angle pictures
- The main bathroom is depicted in one photo.
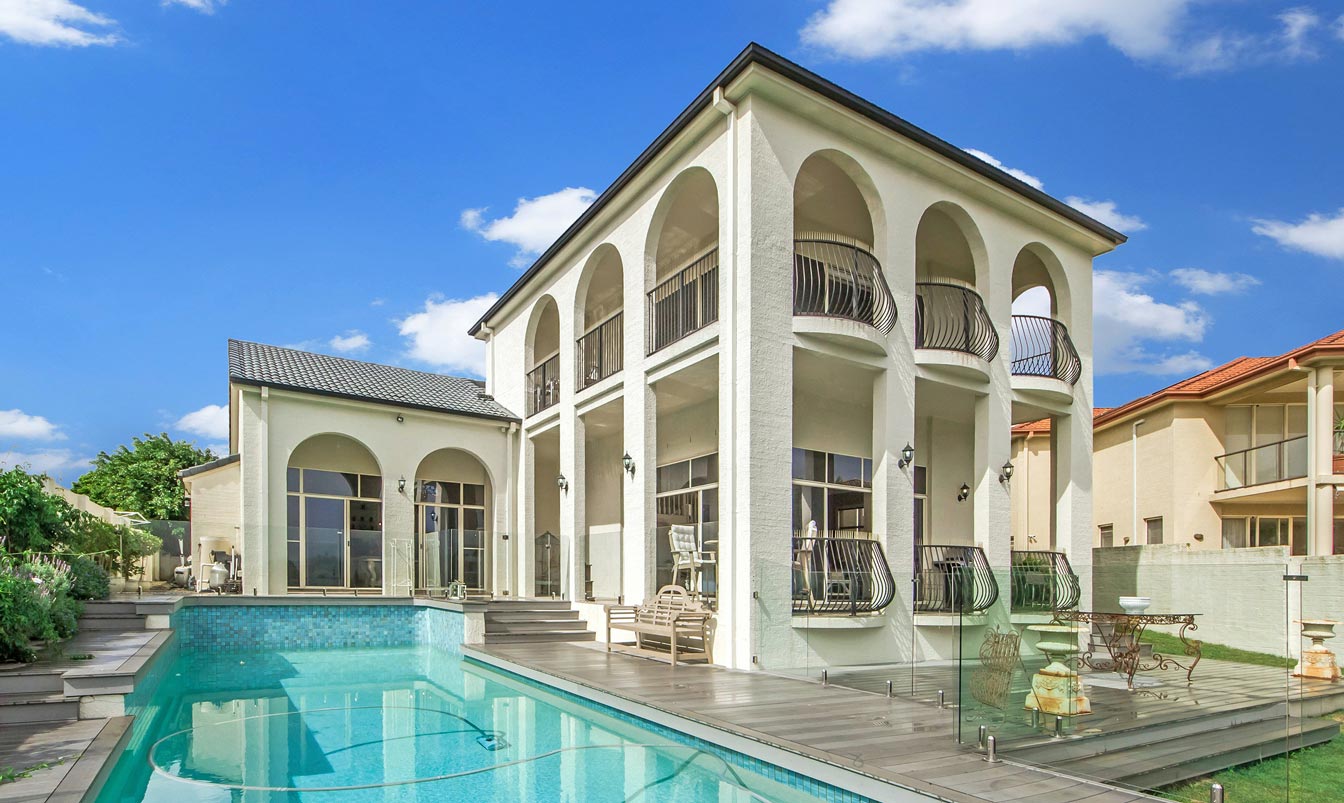
- 1-3 photos of the backyard, plus a few of the front yard and entry
- Shots of the laundry room, garage, and pantry, among other things.
Exterior, Front Yard, Backyard
- All garage doors should be closed.
- Remove automobiles from the photos so that they are not visible.
- Pay attention to the landscaping (mow the lawn, trim bushes and remove leaves)
- Remove any dead vegetation and containers that are no longer full.
- Dispose of trash cans
- Remove any water hoses, ladders, or other tools that are visible.
- Toys and playground equipment should be removed.
- Remove any holiday decorations (for example, Christmas lights)
- Clean up outside tables, chairs, and other furniture, and fluff cushions.
- The pool should be cleaned.
- To create a warm ambiance, consider adding a few touches such as candle holders.
Kitchen
- Less is more when it comes to countertops.
- Place a few fashionable items on the counter (a coffee maker or a bowl of fruit)
- Place all dirty dishes in the dishwasher; hide all dishes.
- Garbage cans and recycling containers should be hidden.
- Remove all magnets, postcards, photos, and other items off the front of the refrigerator.
- Make sure there are no finger marks on the countertops and cabinets by cleaning and/or polishing them.
- Dining table that is free of clutter. Having a vase of fresh flowers on the table is a good idea.
- Make sure that all of the seats are straight and that they are appropriately spaced.
- Remove any high seats or children's chairs
Living Room
- Magazines, papers, mail, and other clutter should all be removed.
- Arrange books and artwork on bookshelves to make them look neat.
- Toys should be removed.
- Remove any clutter and clean the fireplace's interior.
- Clean the glass in front of the fireplace if it has one.
- Furniture pillows should be fluffed and arranged.
- Cables from the TV, audio and other electrical devices should be hidden and/or arranged.
Home Office
- The desk that is free of clutter
- All cords should be hidden and/or arranged.
- Papers should be hidden
- Arrange objects in a bookcase in a nice manner.
- Items that have been personalized should be removed.
Bedrooms
- Bedding should be in the same color family, wrinkle-free, and not discolored or faded.
- Bed linens and bed skirts should be pressed.
- Make the beds, including any decorative pillows or shams that may be available.
- When visible, the edges of bedding and sheets should be tucked neatly or hanging properly.
- Pillows should be wrinkle-free, fluffed, coordinated, and neatly arranged.
- Remove all personal items, such as photos, clothing, devices, and clutter.
- Dispose of trash cans
- Clean under the bed and take out anything that might show up in the images.
Bathrooms
- Countertops that are clean. Leave a stylish soap dispenser, for example.
- Place toilet seats on the floor.
- Shampoo, soap, and other products should be removed from showers and baths.
- Remove any soiled towels. Clean towels in complementary colors should be hung up.
- Floor mats should be removed.
Lighting
Focus on your lighting when you've finished with all of your rooms. Replace any broken lights. Make sure the lights are turned on when capturing images or movies. When it comes to taking amazing shots, lighting is key, so make sure all dark areas are well-lit.
Conclusion
The real estate photography tips listed above should assist you in getting your home completely ready for staging. Unless specifically asked, storage areas like closets are rarely recorded or filmed. Remove all or most of your clothes and shoes if you need to picture or film storage places and closets. You can also rearrange furniture to make additional space. If necessary, you can make some additions, such as purchasing new furniture if your current furniture is too old. These are, once again, personal tastes. Don't be scared to invest some money on a stager if you want to sell your land and ranches. You should also think about employing a real estate photographer.